Give your Agent a face
Choose a character, watch it speak with your Agent's real voice, then publish it as part of the Agent. Narya keeps model loading, lip sync, expression, idle motion, and gaze behind one managed runtime.
Start here
One character, one managed runtime
An Avatar is the visual identity of a published Agent, not a separate file your application has to manage.
Choose a character
Preview speech and motion
Publish it with an Agent
Navigation
Find the Avatar catalog
Your workspace offers four ready-to-use characters: Violet, Ruby, Lumi, and Komano.
- 1
Sign in to the Dashboard
Open the login page and sign in. If you were invited by a teammate, use the account attached to that invitation. - 2
Switch to the right product
In the top-left corner of the Dashboard, select the Narya.ai product switcher and choose Avatar. The sidebar changes to that product’s pages. - 3
Open Avatars
Select Avatars in the sidebar, or go directly to /operator/avatars.
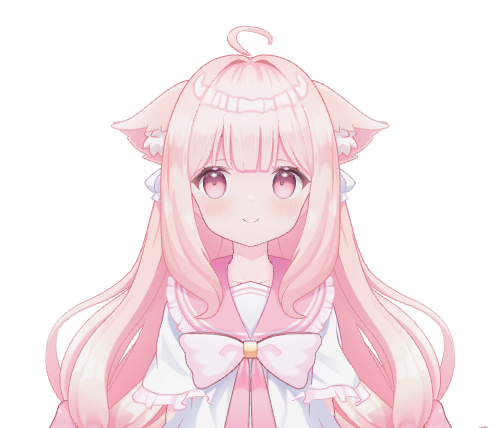
Example: Lumi
See every character before choosing
Each catalog card shows a visual preview. Open a card to reach the character’s detail page with a live 3D preview.
Test
See the Avatar speak before publishing
- 1
Open a character
Select a card in the catalog. The detail page has two tabs; the Live tab shows the animated 3D preview. - 2
Select Open Live conversation
The button in the corner of the preview takes you to Live conversation with this character selected, so you can run it with your Agent’s actual voice and behavior. - 3
Check the whole turn
Listen for voice quality and watch lip sync, expression, idle motion, and gaze together while the Agent speaks.
Agent identity
Publish the Avatar as part of the Agent
The character your users see comes from the Agent's published configuration.
- 1
Open the Agent editor
Go to the Agents page (product switcher → Agents & Live → Agents) and select Edit on your Agent. - 2
Choose the Avatar field
In the Identity section, set Avatar to Violet, Ruby, Lumi, or Komano. - 3
Save & publish
Publishing makes the character part of the release. New SDK sessions receive it automatically. See publishing in the Agents guide.
agentId only. They cannot override the character per connection — one published identity keeps every client consistent.Developers
Render the published Avatar in your app
Most Avatar users can stop after publishing. Application developers can continue with the React SDK.
@animated-waffle/react owns Avatar loading and playback: attachavatarRef to a container element and the SDK does the rest. Behind the scenes, each session delivers short-lived signed asset URLs together with a content hash; the SDK verifies the download against that hash and caches the model in the browser, so later sessions skip the download entirely.
Loading progress is exposed as avatarLoad — status valuesidle → downloading → verifying → parsing → ready with byte counts — so you can render a real progress indicator on first load.